Home / Our sky
ASTROSKYGUIDE
Stargazing: Our sky
Stargazing: Our sky. Explore scientifically careful astronomy explanations with atmospheric, clearly labelled illustrations. This guide makes the question, evidence and next steps easier to follow while keeping the scope of the page clear. Use the topic links to choose the next explanation or open a focused enquiry.
On this page
Start with the sky above you
The most useful stargazing session begins before the first star appears. Choose a location with an open view, identify the direction of the horizon and consider the lighting around you. A balcony, a park and a dark rural site offer different possibilities. Start with a small question, such as recognising one familiar pattern, rather than trying to identify everything. Record the place and time so your next observation has a meaningful point of comparison.
For stargazing, keep a short observing note: place, local time, direction and the question you want to answer. Repeating one familiar observation makes changes easier to interpret than collecting unrelated names.
Finding patterns
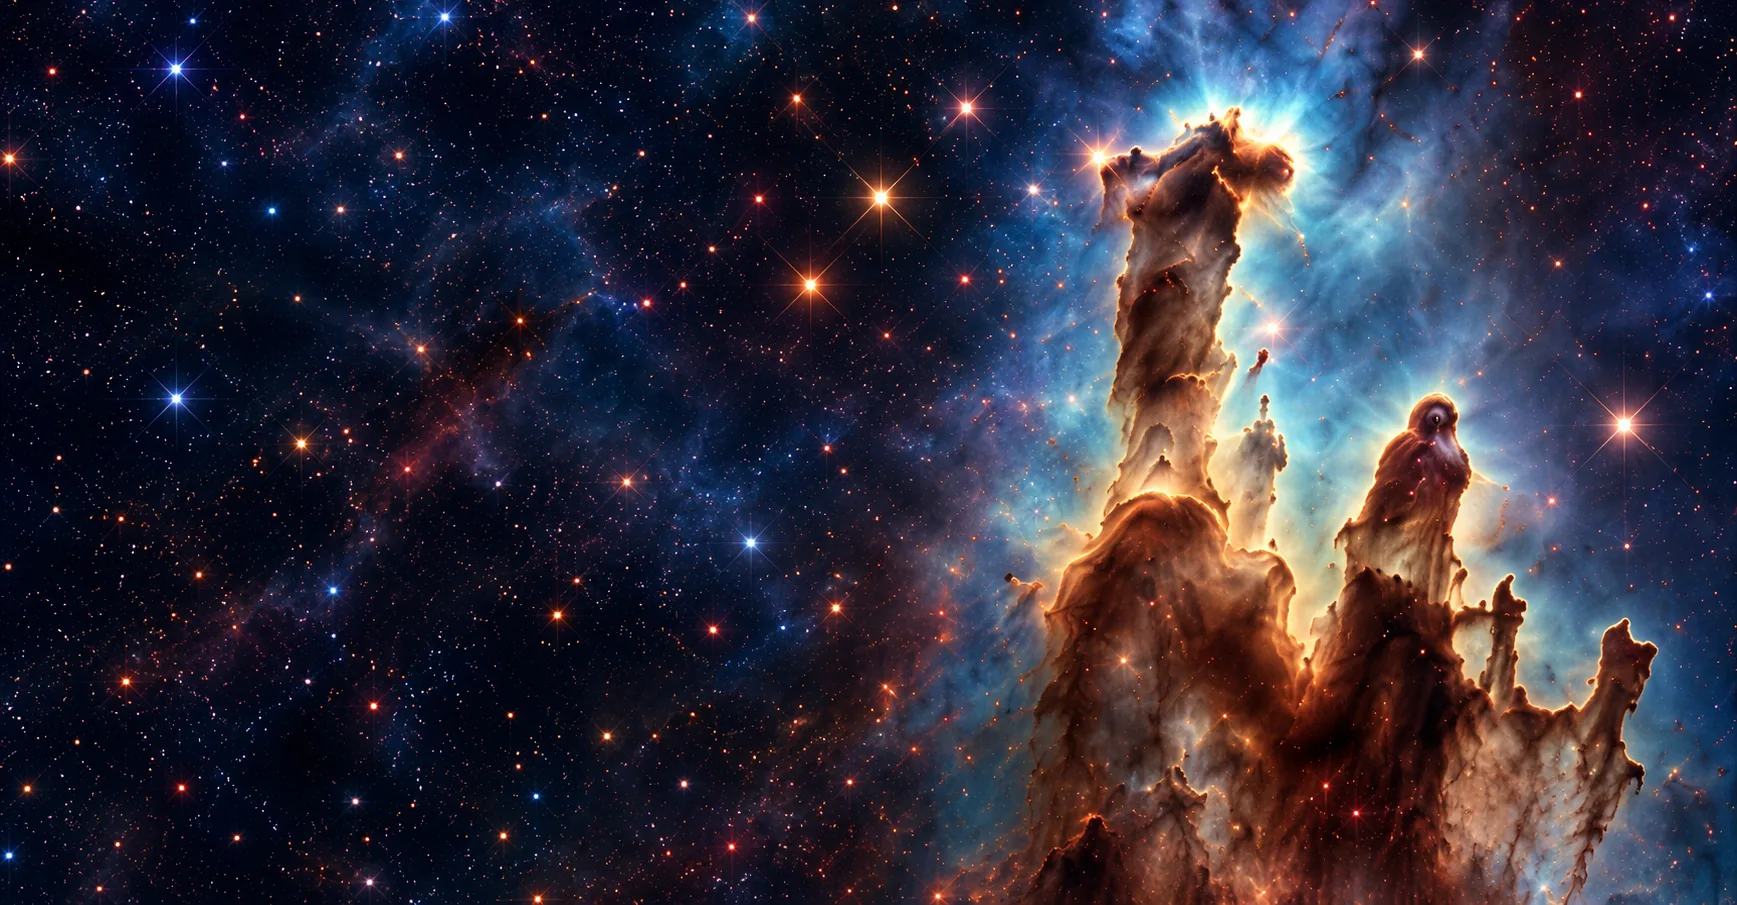
Constellations help people organise the sky, but the familiar drawings are a way of connecting apparent positions. Stars that look close together can be separated by enormous distances. Treat a recognisable outline as an introduction to a region, then ask what individual objects lie within it. Our atmospheric atlas illustration communicates that sense of discovery; it is not a calibrated map for locating an object or aligning an instrument.
A stargazing pattern can be a starting reference without being a physical family of stars. Sketch the outline you recognised and note what remains uncertain before attaching a confident identification.
Continue with The wider universe.
Brightness, colour and conditions
A clear-looking sky does not guarantee that every object will be visible. Nearby lighting, clouds, haze, the Moon and the height of an object above the horizon all affect the experience. Give your eyes time to adapt and avoid repeatedly checking a bright screen. Notice colour and brightness without assuming that a brighter-looking star must be physically larger or nearer. Appearance is a starting observation, not the whole explanation.
The stargazing checklist should include nearby lights and a clear horizon. If conditions change, record that change rather than interpreting every missing object as an error in your understanding of the sky.
An observing plan
A simple observing plan has three parts: a location, a time and a realistic target. Check an up-to-date sky chart for your actual location before making tonight-specific plans. Choose one recognisable object and one neighbouring region to explore. Leave room for conditions to change. This page explains the process rather than supplying a live forecast, an automatically localised chart or a guarantee that a particular event can be seen.
Choose a stargazing target that fits the session you can actually have. A brief opportunity to observe one region is a useful exercise; an ambitious list can obscure what you learned from it.
From naked eye to instruments
Begin with the unaided eye so that a wide field of view becomes familiar. Binoculars and telescopes change the view, but they also introduce questions about stability, orientation and the size of the visible field. More magnification is not the same as a better first experience. Follow the manufacturer’s instructions for equipment. Never look at the Sun through binoculars or a telescope without appropriate purpose-made solar protection and informed guidance.
Before adding an instrument, practise returning to the same region with the unaided eye. Consider how you will stabilise the equipment and orient its view. Follow its instructions rather than improvising a viewing method.
Continue with The wider universe.
A scientifically careful atlas
An observing resource should tell you what kind of image you are reading. A photograph, a schematic diagram and a finding chart have different purposes. Look for the direction, scale, location and date before using a graphic operationally. AstroSkyGuide’s generated scene illustrations are labelled as illustrative. They are designed to accompany an explanation, not to replace a current chart or establish scientific measurements from decorative artwork.
Read an image caption before using the graphic as evidence. Identify whether it is a scene illustration, a schematic or an observation. Keep that identity in your notes when comparing it with another resource.
Continue into the solar system
The sky above you is also a route into wider questions. A visible planet belongs to the solar system, while a faint patch of light may introduce a discussion of stars or galaxies. Follow the nearby-worlds guide for that first distinction and the wider-universe guide for scale. Keep an observing note with the question that interested you most. A useful next step is understanding what you saw, not merely adding another name to a list.
After the session, write one question about what you saw and one about how you identified it. Those are different learning tasks, and the related guides give you a route for each.
Questions before the next step
Is this a live sky chart?
No. These pages are introductory guides, and atmospheric artwork is illustrative. For an observing session, use a current chart appropriate to your actual location and time. Read its scale, orientation and labels. An image that conveys the mood of the sky should not be used to align an instrument or establish a precise position.
Where should I check a scientific claim?
Follow the linked primary scientific reference and check which observation or explanation supports the statement. A mission image, a diagram and a research result need different context. Our editorial approach describes that distinction. If a claim appears inconsistent with a public source, send the page and precise statement through the contact route.
What is a useful next reading step?
Choose the adjacent guide that answers the question you have now: observing the sky, understanding nearby worlds or exploring wider scale. Keep a note of the assumption or unfamiliar term that needs clarification. The topic links make that route explicit. There is no requirement to read every page before asking a focused editorial question.
Scientific reference
NASA Science: explore the scientific context. Atmospheric and generated scene artwork is illustrative, not a calibrated observing chart.
Start with a clear question
Use the AstroSkyGuide contact page for an astronomy question, a correction or a public topic suggestion. The email button opens your own mail application; review the message before sending and keep credentials or private records out of an initial enquiry.